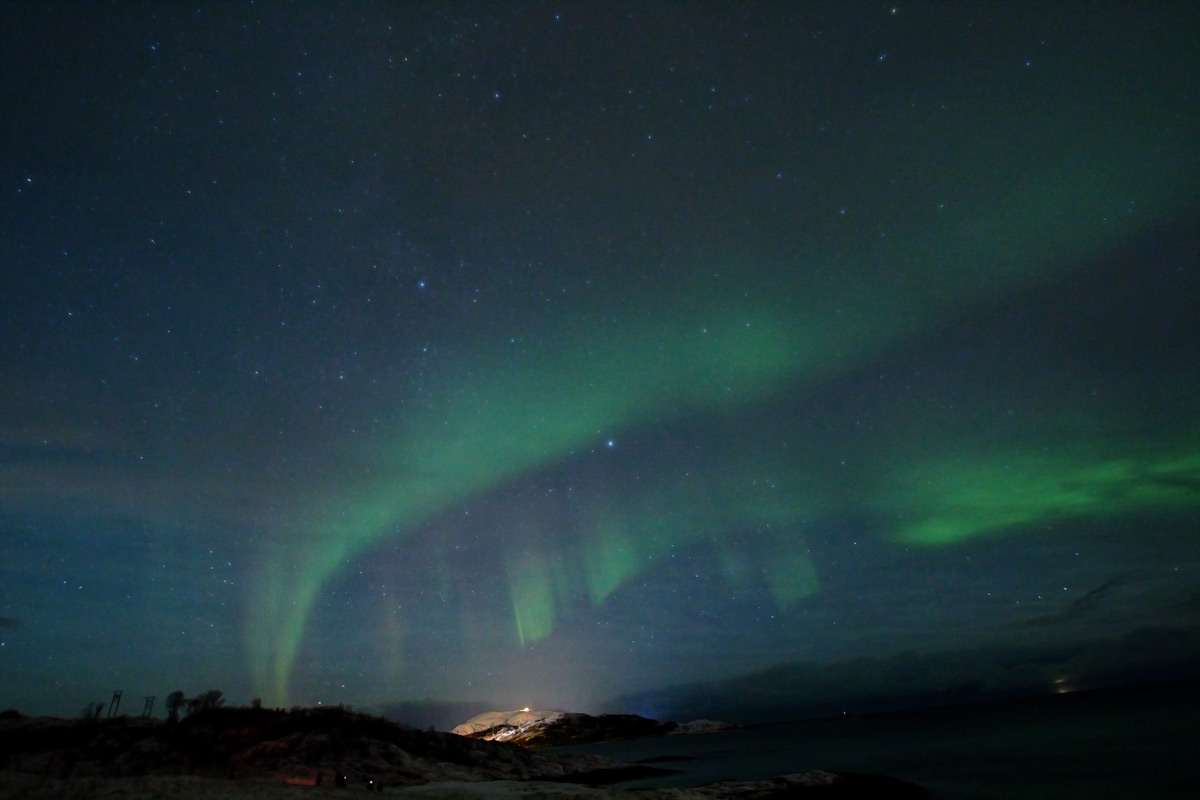
At last, I’ve seen the Northern Lights. A short break in Tromsø and despite a slightly iffy weather forecast the first night we took a tour out off the city. Weather was forecast to be best over Kvaløya so that was the direction we headed and the clouds started to thin after we’d travelled a few miles. This was probably the brightest but I’ve still got some more pictures to process.
Image annotation
One of the tasks that you might want to do with an image is to identify and annotate the objects within it. With it’s ImageSolver and AnnotateImage scripts PixInsight makes this really easy. The AnnotateImage script comes with several pre-canned catalogs such as Named Stars, Messier, NGC and PGC catalogs but also gives you the ability to specify your own. What I’m going to describe here is how to generate and use your own catalog from a VizieR source.
As I’m interested in Dark Nebulae, for this example I’m going to use the Lynds Dark Nebulae catalog and the first step will be to download it from VizieR. First we have to identify the catalog so we visit the search site http://cdsarc.u-strasbg.fr/viz-bin/Cat
Entering the authors name (Lynds, in this example) returns a list of all matching catalogs. We need the second item in the list which has a catalog ID of VII/7A/ldn. Clicking on the title, Lynds’ Catalogue of Dark Nebulae (LDN) (Lynds 1962), takes us to the catalog selection page http://vizier.u-strasbg.fr/viz-bin/VizieR?-source=VII%2F7A.
We could also search on any other identifying information or, if you’re unsure you can browse the entire collection.
We’re going to use a simple constraint query to return all catalog entries but with just the selection of fields that we require. There’s a lot of flexibility here and you can filter records based upon various criteria such as object size or magnitude to limit the search but we’re going to keep it simple here. The fields we require are LDN and Area so ensure that these columns are ticked and clear all the others. We don’t select the columns for RA and DEC as these are of the wrong epoch and also incorrectly formatted and there’s an easier way to obtain the correct information. On the left of the screen is a Preferences panel with more options; select Compute and tick the J2000 box. This will return correctly formatted, J2000 coordinates which will save us some work later.
Also select ‘ascii text/plain’ from the drop down list and select Decimal for ‘Position in’. Choose a value for Max that matches what you expect in terms of the number of catalog entries. Finally, we’re ready to Submit the query and the results will be returned on the next page.
Make a note of the column headers and then copy and paste all of the catalog entries into a text file on your computer. Next, fire up your favourite spreadsheet program and import the text file such that the data is divided into discreet columns and correctly aligned. I’m not going to describe exactly how to manipulate the data in your spreadsheet; just the general objectives so that the data is correctly formatted.
The AnnotateImage script can work with the following columns:
- NAME – An object label (optional)
- RA – Object coordinates in degrees (not hours) format (required)
- DEC – Object coordinates in degrees format (required)
- DIAMETER – Object size, in arc minutes. If this is not specified, a point source is assumed (optional)
- MAGNITUDE – Object brightness (optional)
Put these column names, as required, into the first line of the spreadsheet.
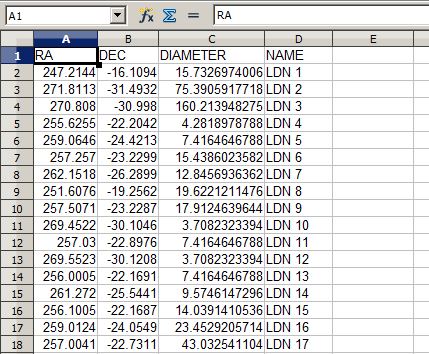
Next, perform any required data manipulation on the object information. In this example, I amended the Name column to include the LDN prefix on each entry and also recalculated the Area values as diameters. Once this is done, save the spreadsheet as a tab delimited text file. The result looks something like this:
Now we’re ready for PixInsight. Load your linear image and run the ImageSolver script, entering values and parameters as required in order to plate solve the image. Documentation is available either online or in the program for this and once it’s completed successfully you can progress with any image processing that’s required to form your final image. Note that, once solved, you cannot resize or resample the image so carry out these tasks first.
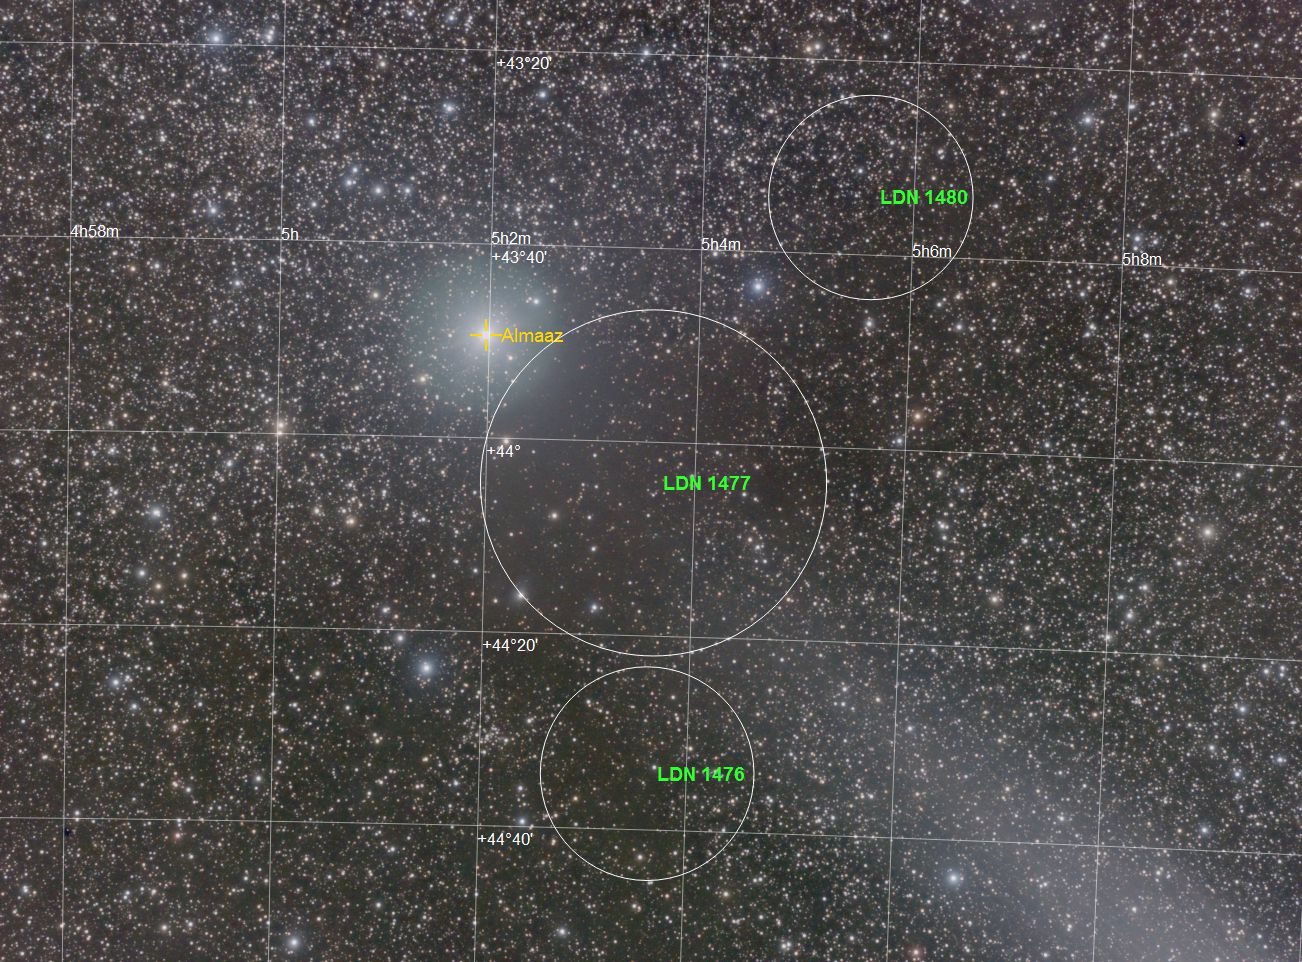
Run the AnnotateImage script, select any of the predefined catalogs required, click the + button and add a custom catalog, supplying the path to the previously saved text file in the dialog box. You should now have a new image with all the objects identified and marked.
Lunar Eclipse
It’s been a while since I photographed a lunar eclipse; the last one was in December 2010 and the pictures are here: Lunar Eclipse. That one reached totality at dawn but this one was in the early hours of the morning against a dark sky. I took pictures from 3am until 3:20 and this is the last of the sequence. The moon is only just into the Earth’s shadow and consequently, there’s still a brighter area on the disk.
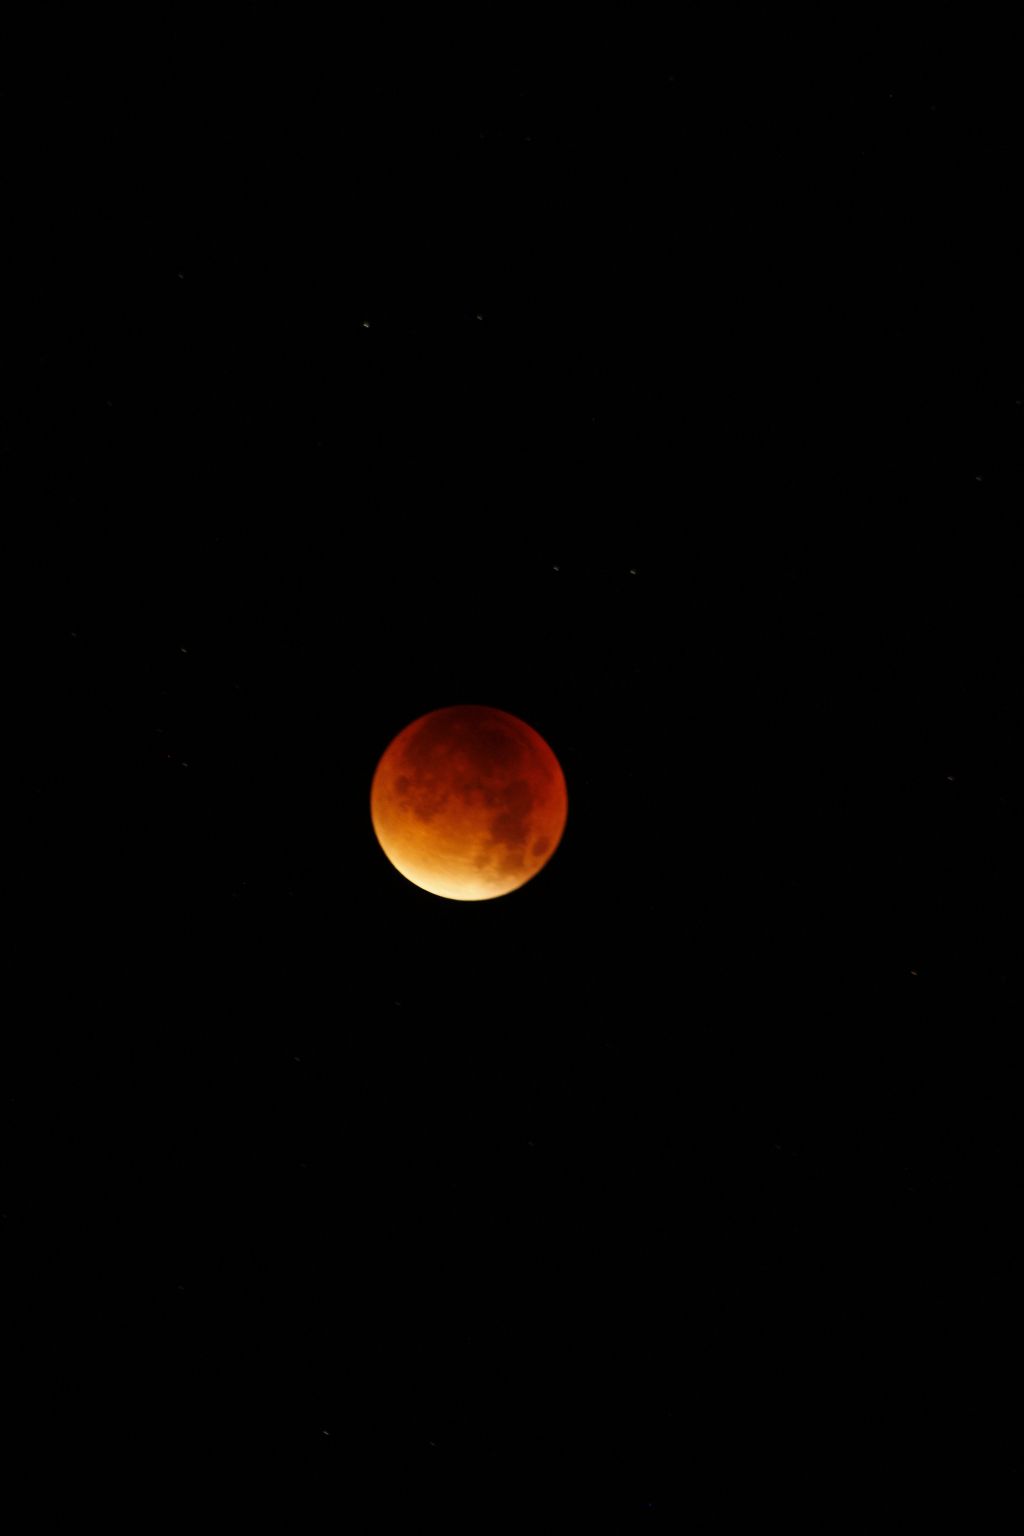 Picture was taken with a Canon 100D and 75-300mm zoom. Exposure time was 3 seconds.
This has been my longest imaging project to date coming in at over 17 hours of RGB data in 10 and 20 minute subframes. The reason for this has been the very faint nature of the target against the light pollution here. To reduce the noise to acceptable values it’s been necessary to acquire rather more images. Contrasted with the pristine skies of Tivoli, Namibia it’s bought home the difficulties and additional work required to successfully target faint objects from UK skies.
I acquired the data for this object some time ago and I’ve been struggling with the processing ever since. The real challenge has been the extreme difference in brightness between the inner core of the galaxy and the outer diffuse halo. After some help from the PixInsight forum this is the current state of processing.
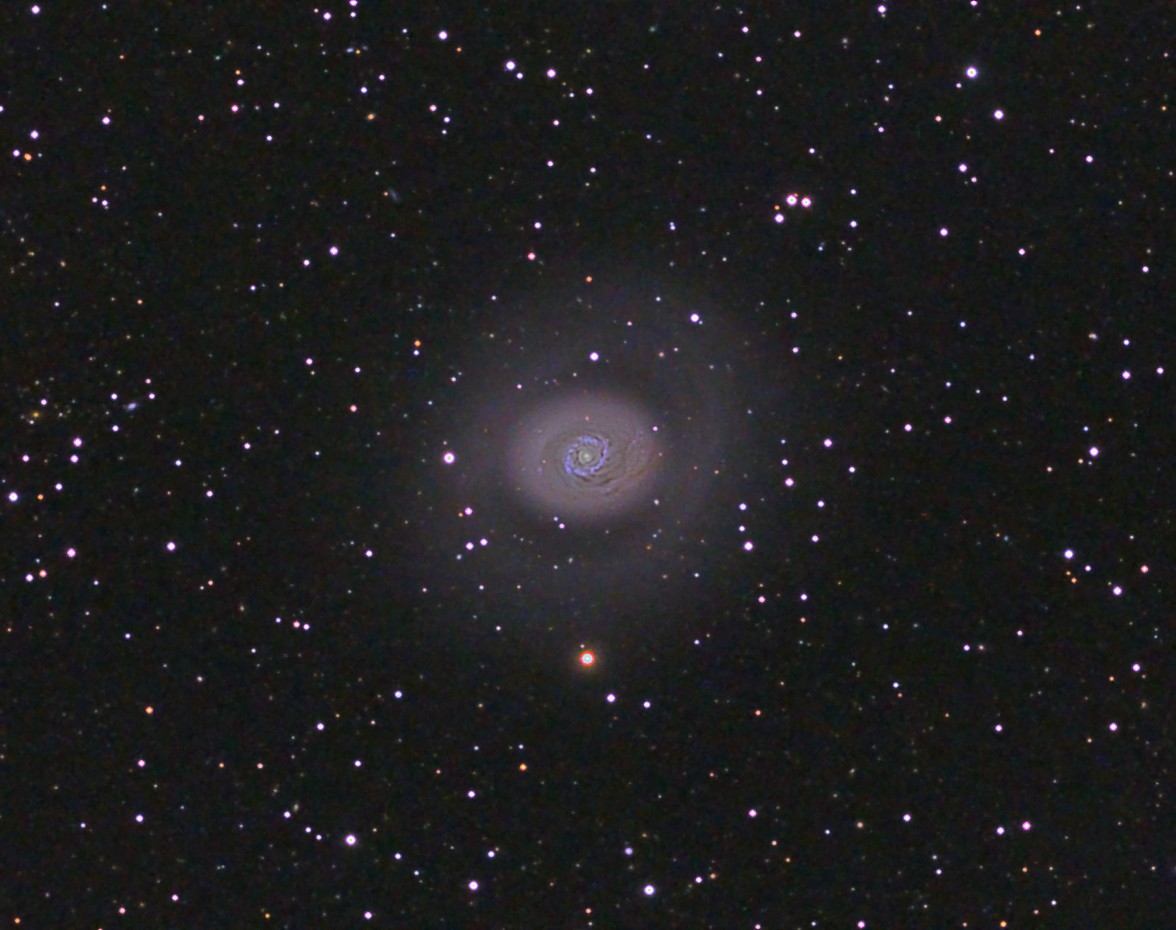 I’m not totally satisfied with this yet as the brighter stars have been damaged and I’ll need to go back and make another attempt when I get time.
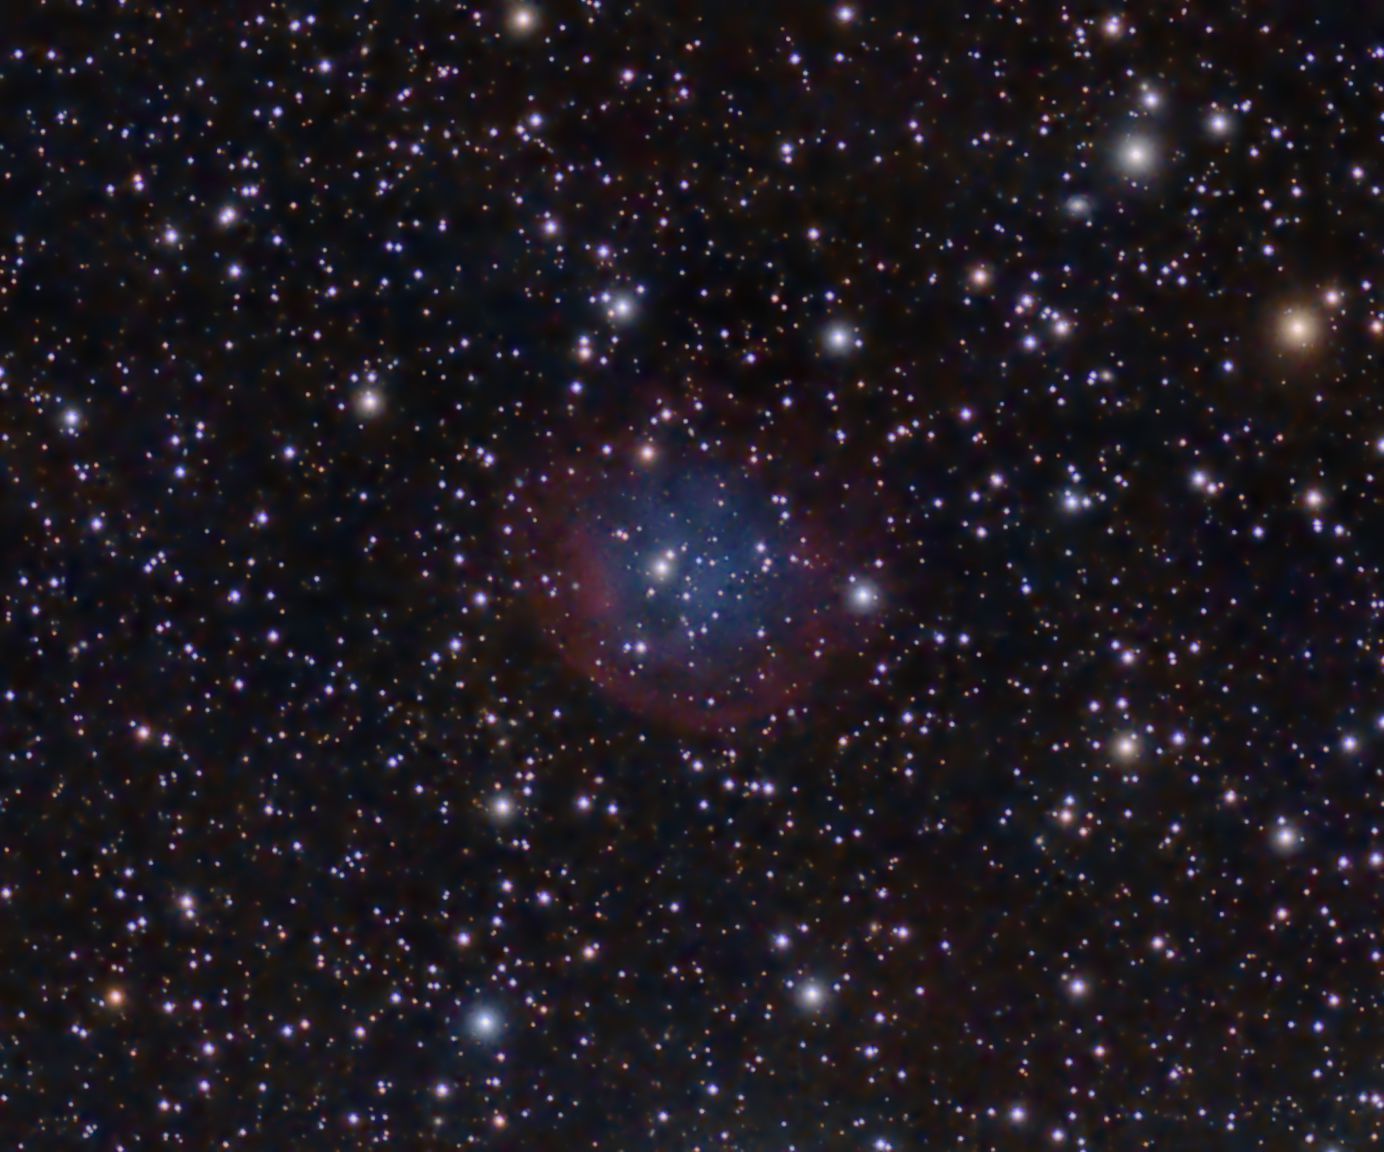
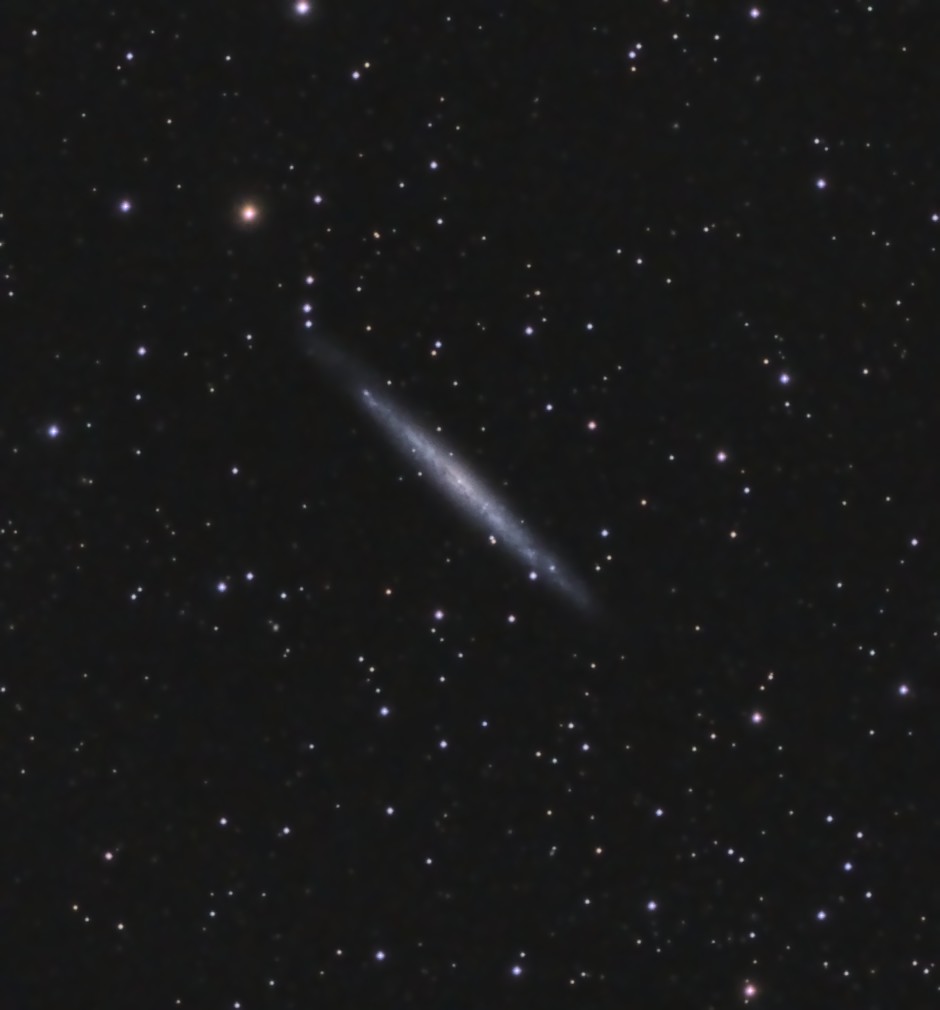
I’ve had a longer term project running for a while to image Abell 31. As this object is in Cancer it’s now too late in the year to accumulate further sub-frames so I’m going to have to make do with what I have. Altogether though, this now amounts to about 20 hours so I’ll have to knuckle down and process a final result. In the meantime, I’ve been messing with some brighter objects and this is one, NGC 4244 in Canes Venatici. A nice sized, edge on spiral galaxy. Image is comprised of 20 ten minute sub-frames.
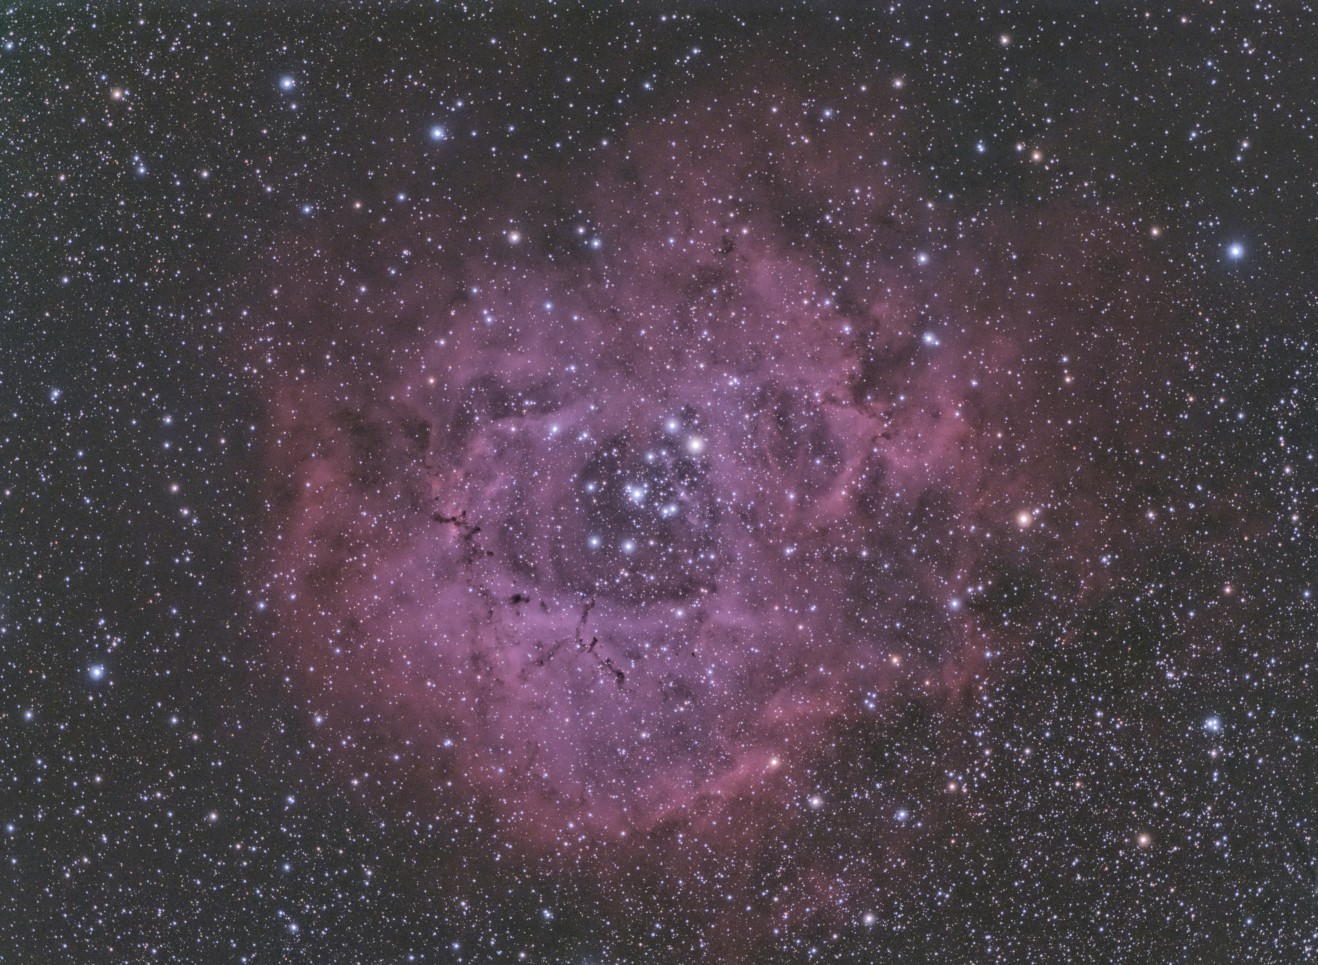
Having pollarded a willow in the garden and removed an Alder I now have a much clearer view across the southern horizon and for objects above Sirius I don’t have to worry about obstructions. Having also replace the Observatory Netbook with a dual core Atom embedded PC board this was a convenient test target to ensure that all was working as it should be.
This is 200 minutes of exposure in 10 minute sub frames, processed in Pixinsight.
Bob Samuel had also imaged this object with Ha, SII and OIII filters using his ED80 and combined them with my colour data for this result:
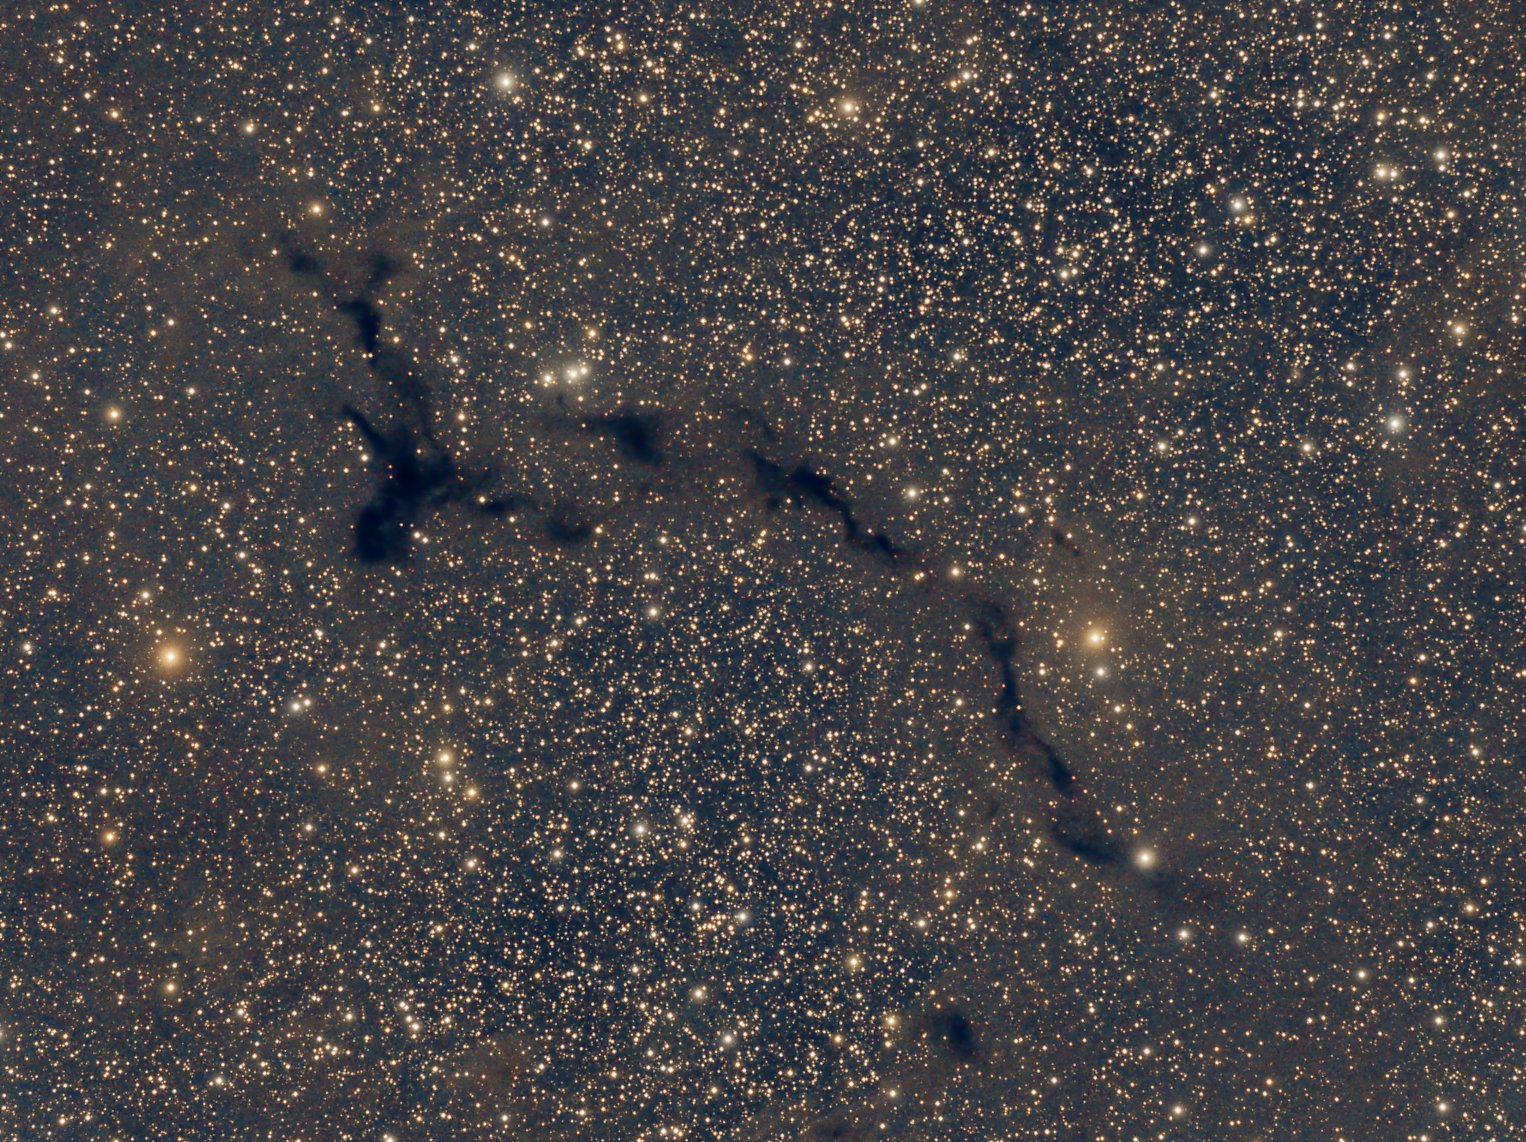
Another New Moon and another dark, dusty nebula; this time in Taurus. Barnard 15 is listed in the catalog with this note: “Large, irregular, with brighter condensation (B 10) in SE part“.
I was lucky enough to get 6 hours worth of images on the first night and I followed this up with another 3 a couple of days later. Individual sub-frames are the usual 10 minutes and both stacking and processing are done exclusively in Pixinsight.
